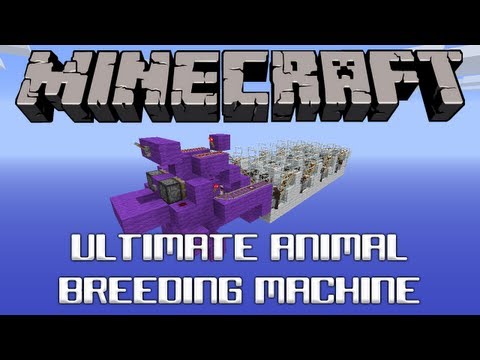
Ultimate Animal Breeding Machine For Minecraft 1.3 Tutorial
 Support me on reddit :-) bit.ly Click to subscribe This tutorial will show you how to the Ultimate animal breeding machine, one of the fastest, compact and resource efficent ABMs to date. Includes baby detection and automatic rotation. Special thanks to our guests in the begining Docm77 www.youtube.com MrPixelTech www.youtube.com sciguyryan www.youtube.com Map Download & Schematic www.planetminecraft.com —————————————————————————————————————- Want to support my channel? â– Donate bit.ly â– Twitter bit.ly â– Facebook on.fb.me â– Livestream bit.ly —————————————————————————————————————- Looking for more tutorials? â– XP Farms bit.ly â– Animal Breeding Machines bit.ly â– Mob Spawners bit.ly â– Farming bit.ly â– Other Tutorials bit.ly —————————————————————————————————————- I also have technical / construction LPs where i walk you through epic builds and creations â– Xisuma’s World bit.ly â– Hermitcraft bit.ly —————————————————————————————————————- Resources (Breeding Bay) 68 Building Blocks 13 Redstone Torches 12 Redstone 10 Rails 8 Powered Rails 2 Detector Rails 3 Repeaters 3 String 2 Tripwire Hooks 2 Buttons 2 Paintings 2 Pistons 1 Lever Resources (Breeding Cell) 36 Building Blocks 27 …
Filed under xisumavoid : Comments (20) : Sep 14th, 2012
20 Responses to “Ultimate Animal Breeding Machine For Minecraft 1.3 Tutorial”
Leave a Reply
You must be logged in to post a comment.
September 14th, 2012 at 8:45 AM
I like it, a nce improvement on the previous version but I dont think I’ll be ripping out the old one for an upgrade…. now if you could make it work with pigs….. :-0
September 14th, 2012 at 8:46 AM
another great tutorial xisuma well done and thanks for all your hard work keep it up :)
September 14th, 2012 at 8:46 AM
Mobs do not glitch out of this design. Those problems were fixed with 1.3
September 14th, 2012 at 8:55 AM
Thanks :-)
September 14th, 2012 at 8:56 AM
One word Xisuma: AWESOME!!!
September 14th, 2012 at 9:05 AM
I think it would be well worth the upgrade, as long as your the type that enjoys construction
September 14th, 2012 at 9:06 AM
Awesome. I especially like the use of the tripwire at the bottom.
September 14th, 2012 at 9:08 AM
Perfection :O
September 14th, 2012 at 9:10 AM
Nice work man. Very compact, very fast. Well designed as usual. 8)
September 14th, 2012 at 9:14 AM
Welcome aboard :D
September 14th, 2012 at 9:17 AM
These tutorials would be somewhat better without so much “You’ll need to place a block at the position clearly displayed on screen, then another block at the position clearly displayed on screen, as well as a block at the position clearly displayed on screen. You’ll also have to place a block at the position clearly displayed on screen, a block at the position clearly displayed on screen, and a block at the position clearly displayed on screen.”
September 14th, 2012 at 9:18 AM
i approve bro very impressing work
September 14th, 2012 at 9:20 AM
Im glad you find it useful :)
September 14th, 2012 at 9:21 AM
another Cool Tutorial Xisuma ;D
September 14th, 2012 at 9:23 AM
Do it work on a server?
September 14th, 2012 at 9:26 AM
Yay, tutorial guy!
September 14th, 2012 at 9:28 AM
You released the video exactly when I finished building doc’s motherboard 3.0 in my ssp world D:
September 14th, 2012 at 9:33 AM
How did you get the tripwire to go across 3 empty spaces? When I did it, it wouldn’t connect and would only connect if I made the hole 5 long.
September 14th, 2012 at 9:36 AM
Every time i make one i try and avoiding doing that. i can’t help but feel if i don’t point it out someone will miss it. Perhaps next time i will take a different approach. more of a copy what you see here and maybe point out some less obvious things. How does that sound?
September 14th, 2012 at 9:36 AM
Bad timing man :(